Italian meatballs, Zucchini noodles & child labour

I always try and let my 3-year old ‘help’ me with little tasks, but most of the time it’s a case of ‘trying to clean with a toddler is like trying to brush your teeth while eating an Oreo’…
So true.
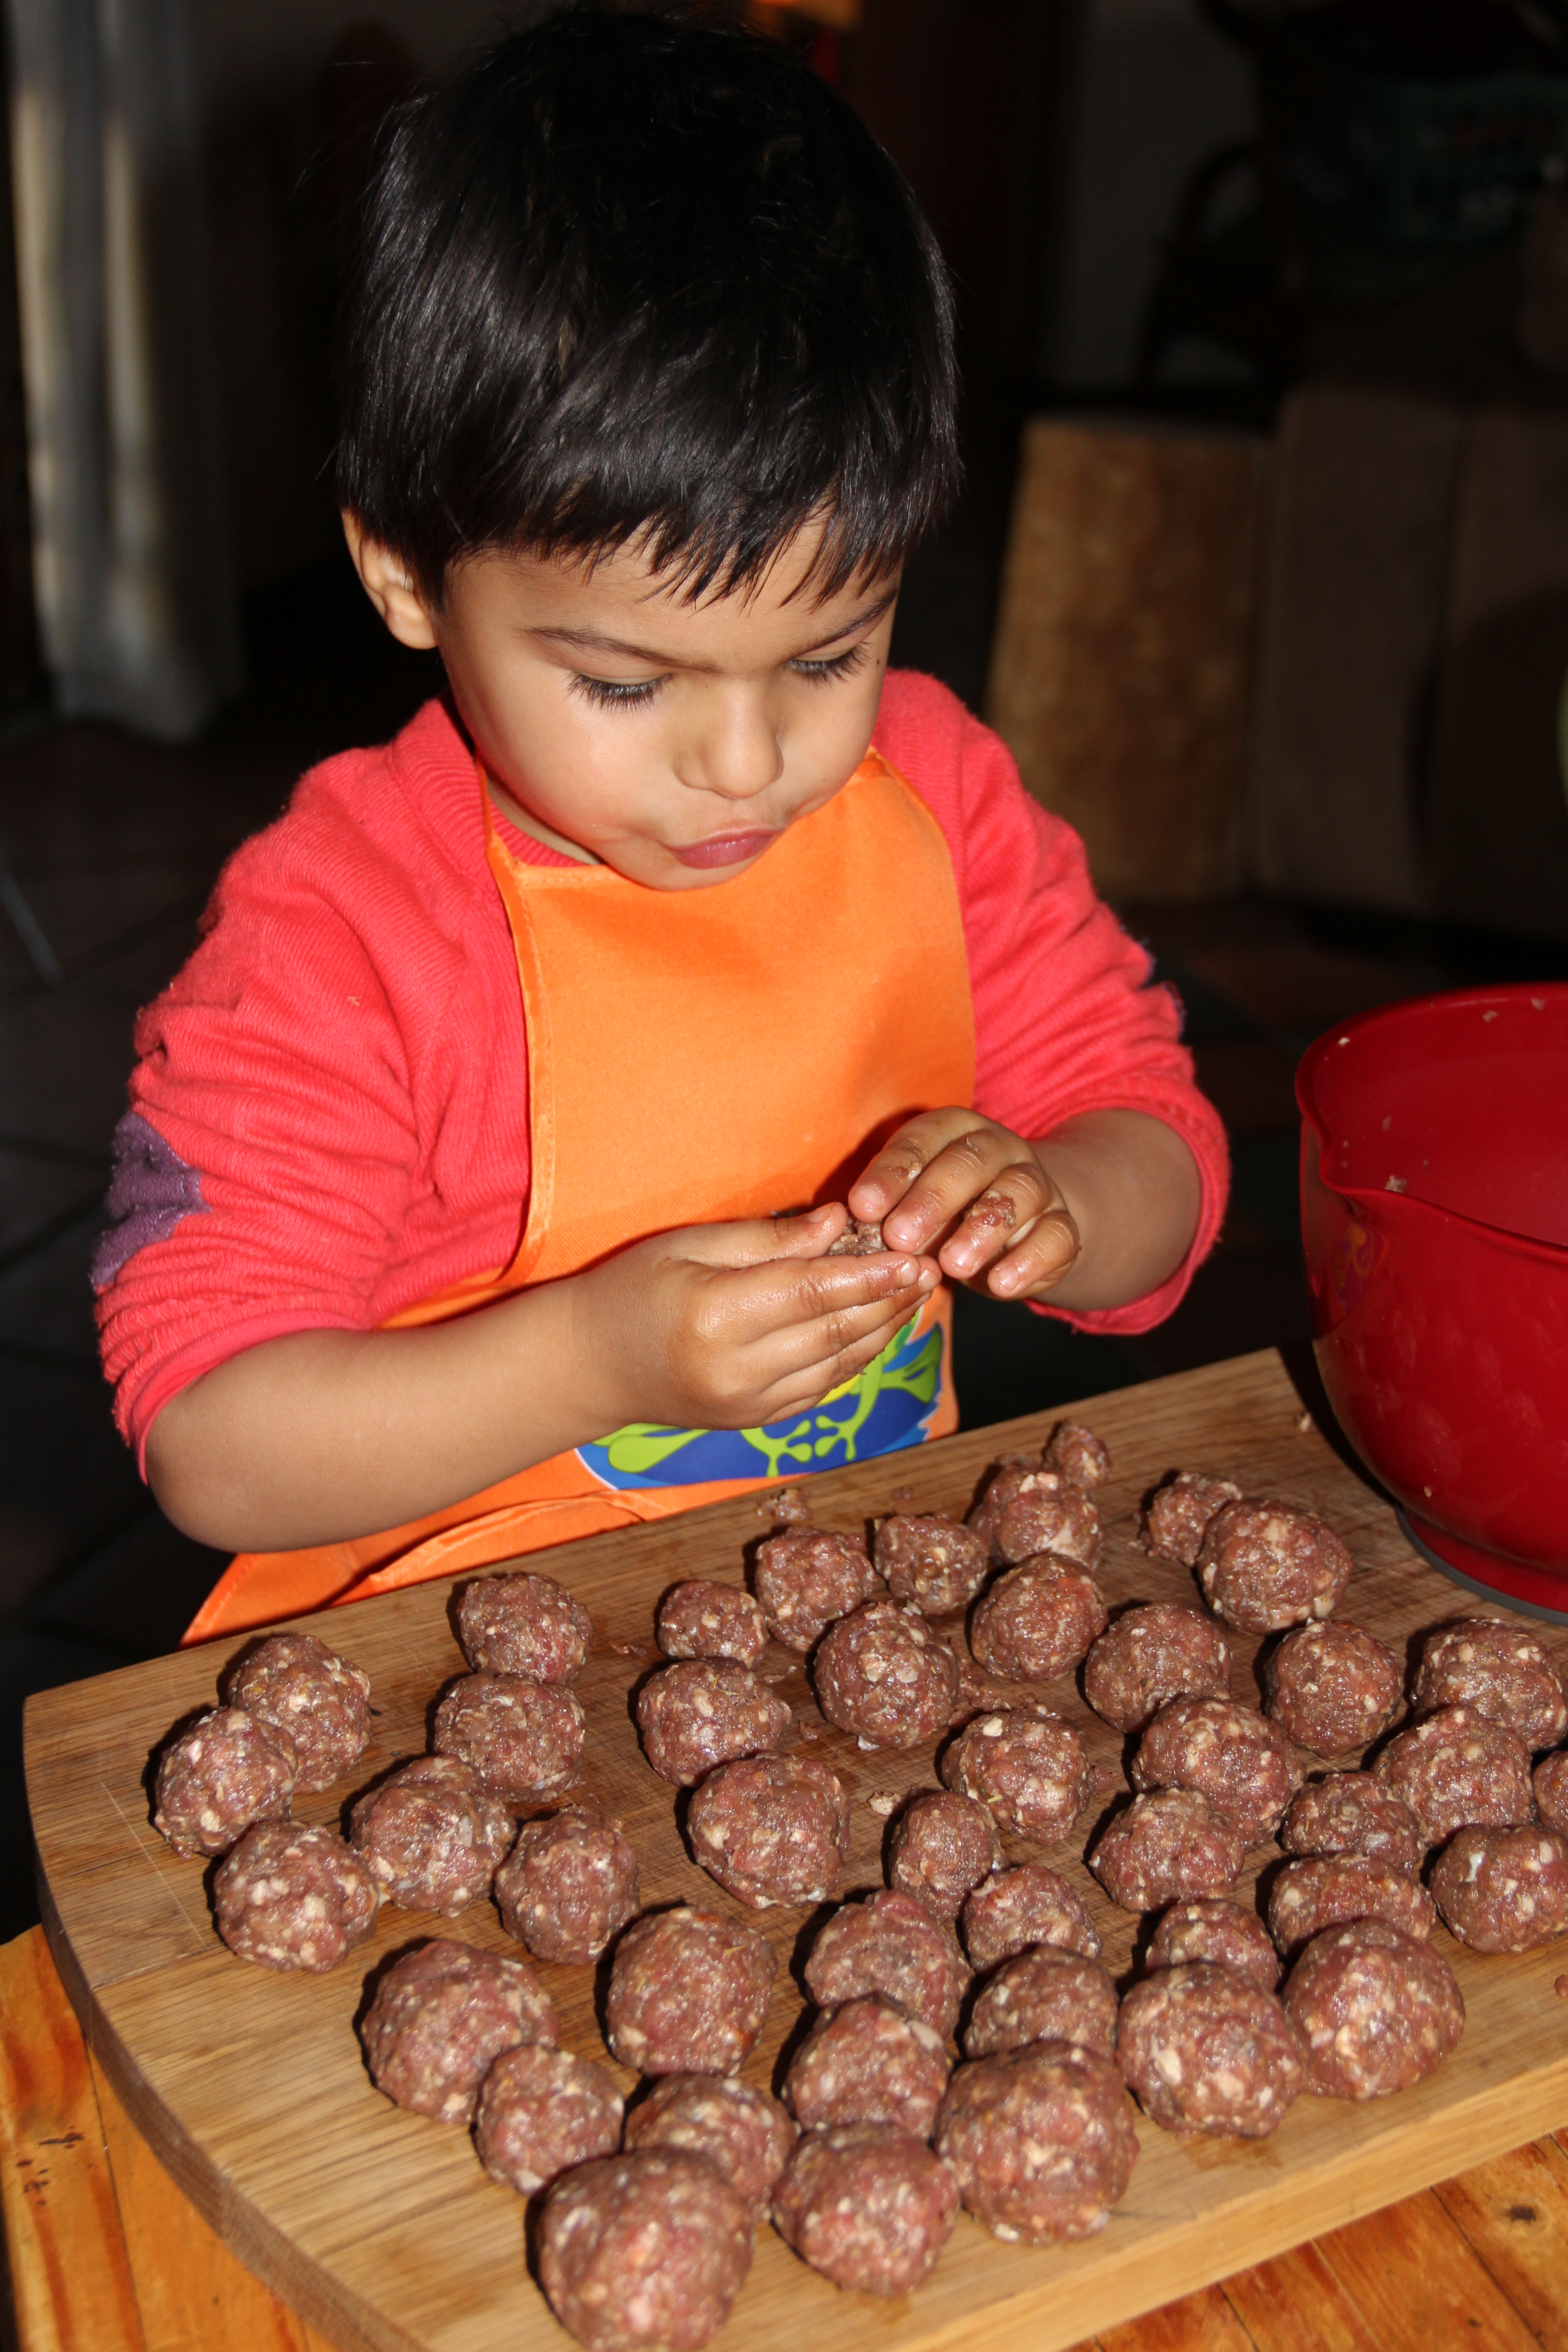
Anyways, I still keep trying, and I must say, this was a brilliant task for him to do:
IMG_8330
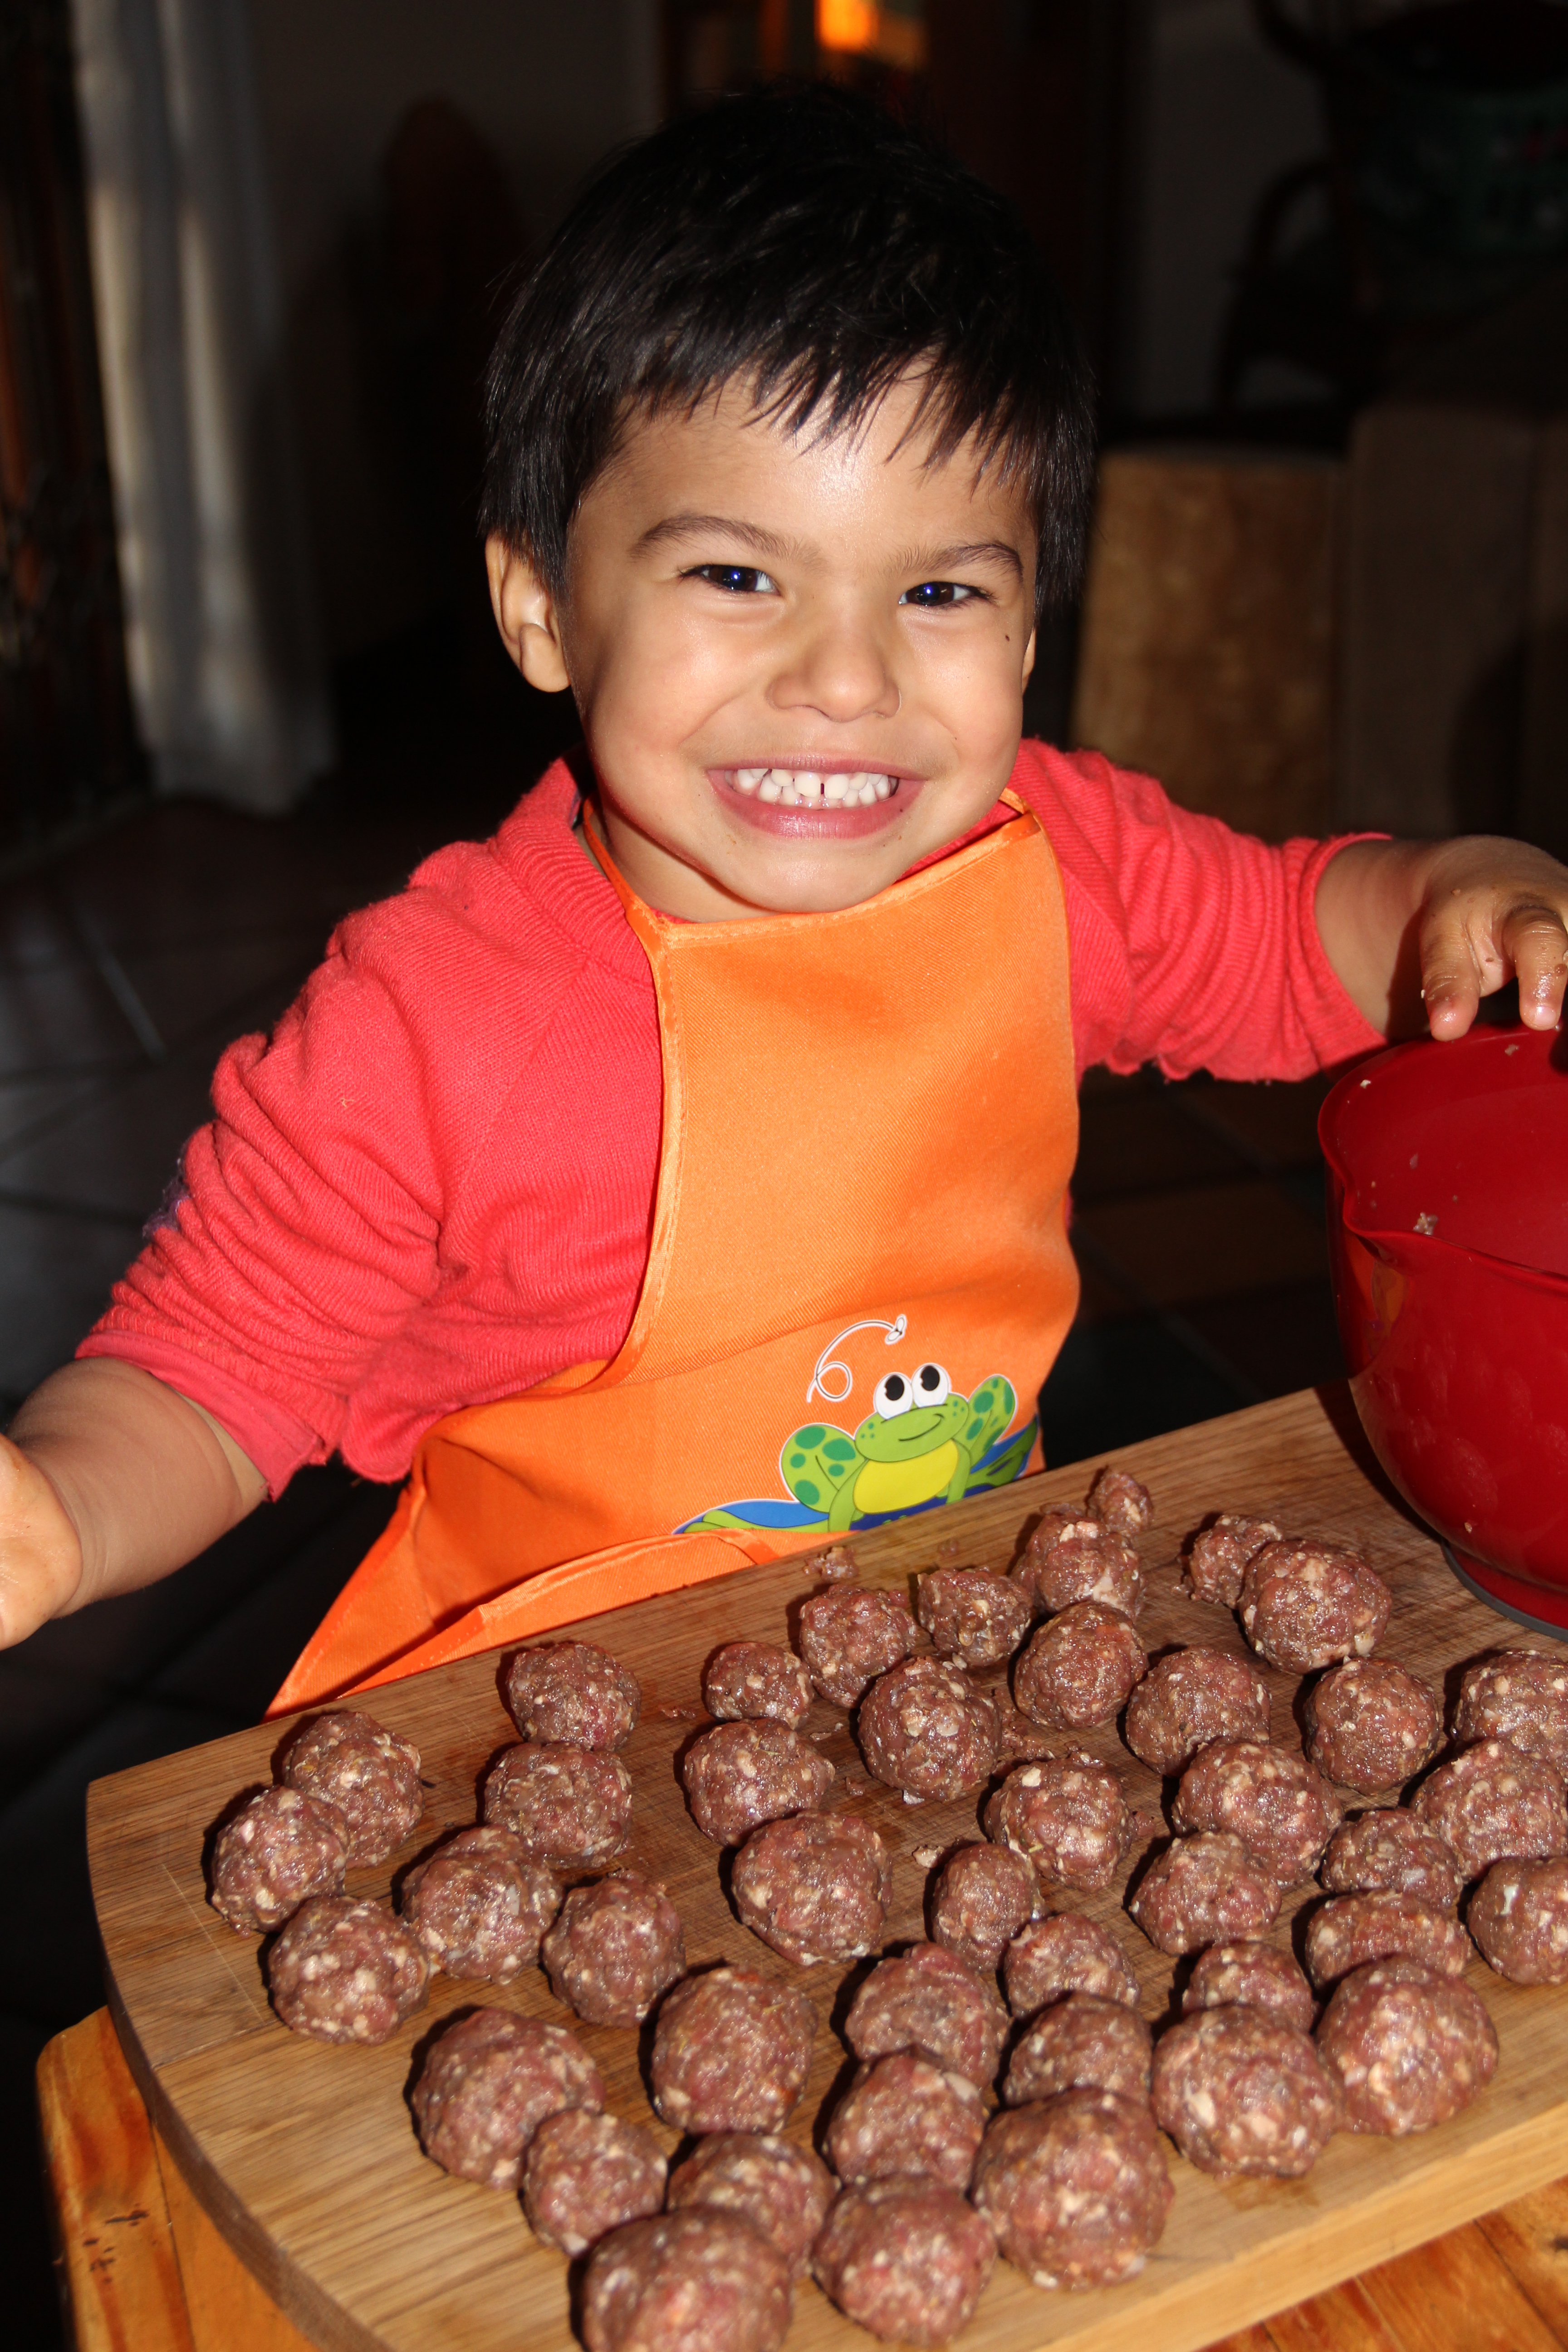
As you can see, he was VERY pleased with himself… {And with his tiny little hands, he rolled the perfect bite-sized meatball!}
IMG_8329
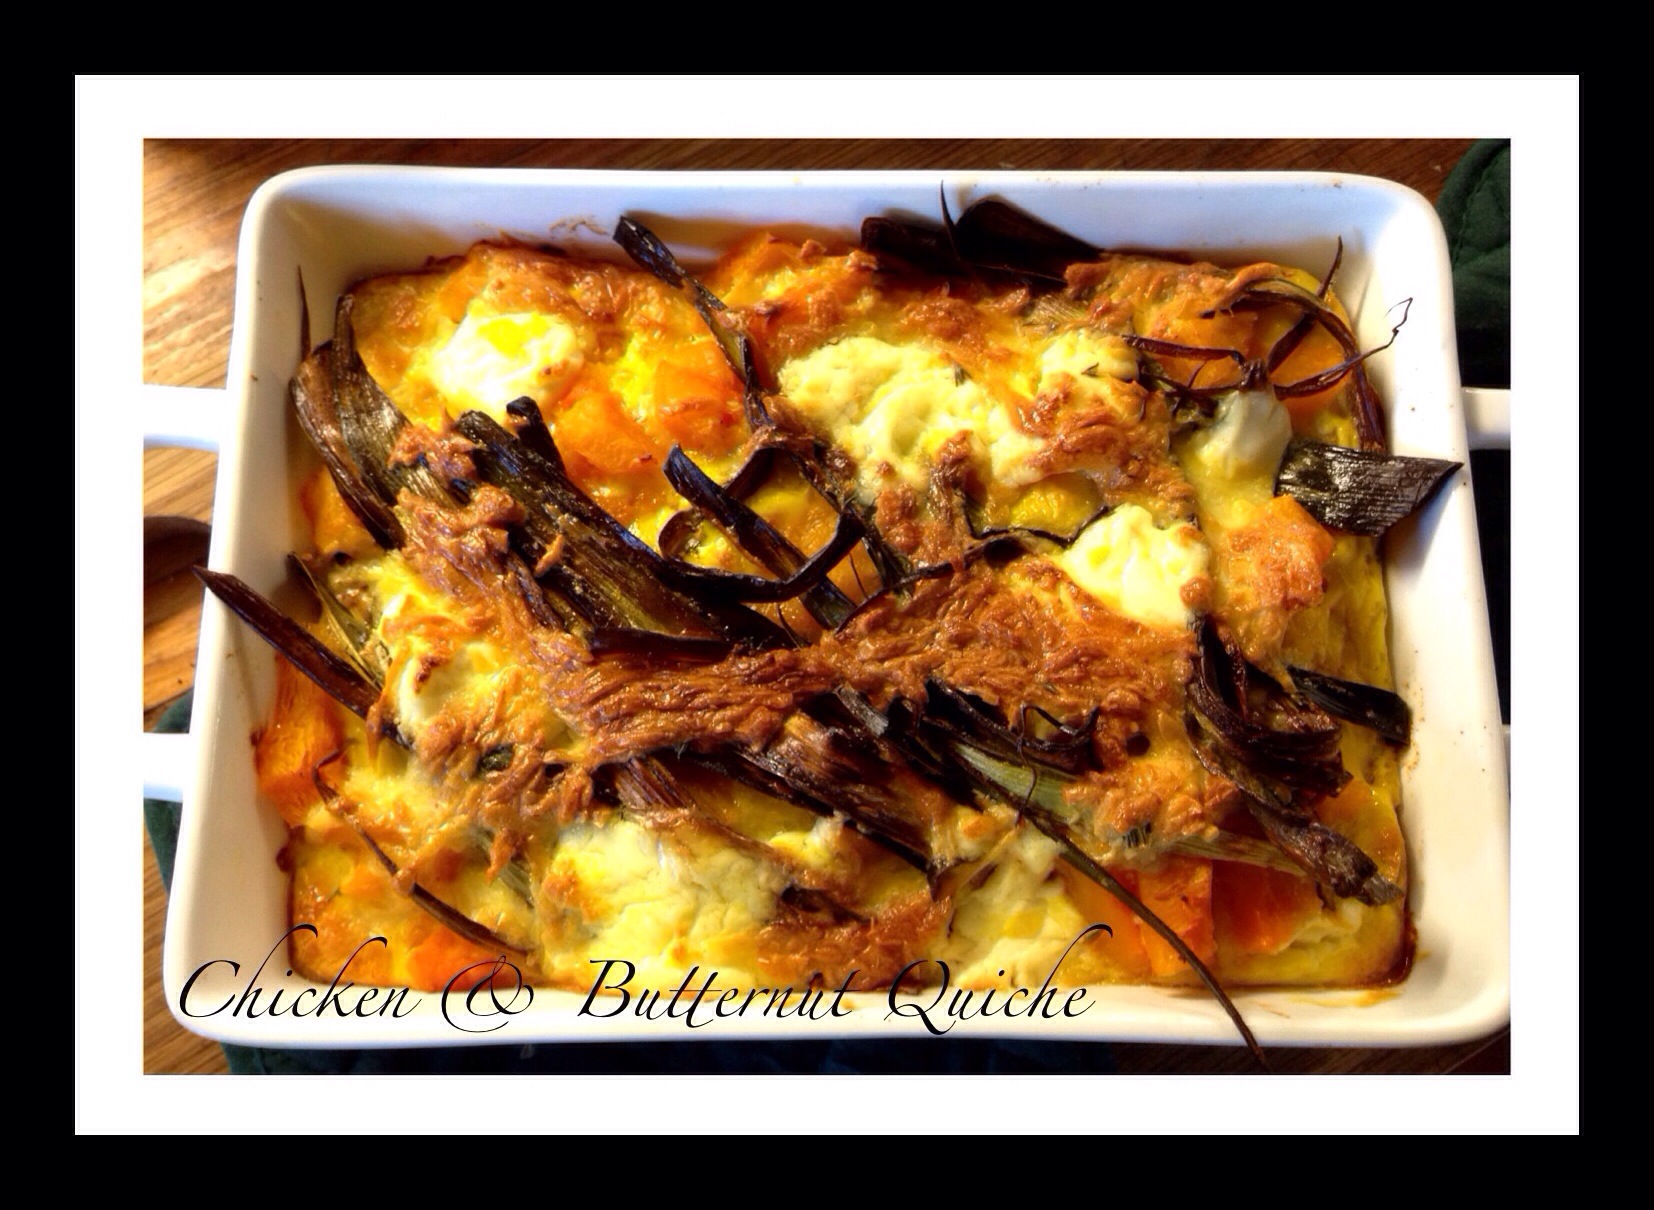
Here is my recipe for Italian {ish} meatballs in tomato sauce with zucchini noddles:
You will need:
1kg pack of Boerewors, removed from casing
pinch of cayenne pepper
pinch of paprika
1 tsp Italian mixed herbs
1 egg
pinch of salt
2-3 spring onions
1 tin of chopped & peeled tomatoes
olive oil
splash of Italian Pinot Grigio
5-6 medium-sized zucchini, noodled

Ok, so start by making your ‘noodles’. You will need a nifty ‘noodling’ gadget, it looks like an old-fashioned potato peeler with little slits to create the noodles. There are so many different gadgets around for making noodles out of veggies – take your pick, or simply slice them into thin ribbons.
Steam them for a few minutes until just tender and set aside.

To make the meatballs, remove the sausage meat from its casing. Mix in the egg, spices & salt. Get a pair of teeny tiny hands to roll these into small meatballs – a 3-year old will do!
Fry in olive oil on all sides until they’re a nice golden brown.
Slice the spring onions and add these to the frying meatballs. Add a splash of wine and the tin of tomatoes. Let this simmer away for about 15 minutes until the sauce has reduced slightly.
Serve with the zucchini noodles and a drizzle of olive oil.
IMG_8337
By replacing regular ol’ spaghetti with lighter, more refreshing zucchini noodles, this dish is instantly a more healthy, carb-free, family-friendly meal!

Enjoy! x

What’s for dinner? Lamb shanks – that’s what!

As I was sipping my morning coffee yesterday, my Yuppiechef newsletter arrived in my inbox…
Always exciting stuff – what’s new in the world of cooking and culinary gadgets – one newsletter that I actually read!

They had a feature on lamb shank and I decided, ‘that’s what I’ll make for dinner tonight’, it’s just the perfect hearty dish for a cold winter’s evening.
I made mine with cauli mash, so it’s totally Banting-approved!

20140724-125047.jpg
You do need enough time for this one – so get cracking NOW – it needs to cook for at least 2.5-3hrs.

Other than that, it’s super easy – here’s what you’ll need:
4 lamb shanks
Salt & pepper {I prefer to use fine salt and white pepper with lamb}
Lemon rind of 1 lemon
Tin of whole peeled tomatoes
1 onion, finely chopped
3 large cloves of garlic, finely chopped
A handful of thyme sprigs
400ml dry red wine
Olive oil
1 large head of cauliflower
A chunk of butter {perhaps 50g or so}
1 tbs sour cream / crème fraîche

Use a medium-sized oven casserole that will snugly fit all 4 shanks.
Season the lamb shanks with salt & pepper.
Heat enough olive oil and brown the meat on all sides and set aside.
Add a bit more olive oil to the casserole and sauté the onions until they’re nice and soft.
Add the garlic, the thyme and lemon peel and cook for about another minute.
Add the tomatoes and just give them a rough chop in the pot, then add the wine.
Return the shanks to the casserole, place the lid on top and cook in a pre-heated oven of 140C for 2.5-3 hrs, until the meat is really tender and starts to fall off the bone. I cooked mine for 2.5hrs…

Serve with cauli mash:
Steam or boil the cauliflower until tender, then purée with a stick blender, season with salt & pepper, add the butter and crème fraîche and blend until smooth. Voilà!

20140724-130316.jpg

Double Chocolate Cheesecake #yum #dessert

Hello!

Well, so much for a healthy week… I have a full-blown cold and feel like just snuggling in bed with a hot water bottle and a good book. I’m reading Little White Lies {by Lesley Lokko} at the moment – what a fab read! I love {and have read} all her books.

Anyways, so that’s what I really want to be doing right now…

Instead, I have a ton of laundry to get through AND my dishwasher has stopped working. Fabulous.

Oh well, nothing like a rich and decadent slice of cheesecake to lift the spirits!

We had dinner with friends last night and I made this double chocolate cheesecake for dessert, and am enjoying my leftover slice as we speak…

20140723-114936.jpg
You will need:
{for the base}

2 cups finely crushed ginger biscuits
1/2 a cup of melted butter
1 tsp ground cinnamon

{for the brownie layer}
1/2 a cup of butter
110g dark chocolate, chopped
1 cup sugar
1/2 tsp vanilla
3 large eggs
1/6 cup cocoa
Pinch of salt
1/3 cup flour

{for the cheesecake}
3 blocks of 250g cream cheese
1 cup sugar
2 tbs flour
1 tsp vanilla
2 eggs
1 egg yolk
1/4 cup milk

{for the chocolate ganache top layer}
100g dark chocolate buttons
80ml cream

It might seem like a lengthy recipe but it’s actually quite simple and straight-forward…

Right, so start off by making the base, by combining all the ingredients and pressing the mixture into a springform cake tin. It’s important to use this tin for a cheesecake! {And always put your tin inside a shallow baking tray or cookie sheet, just incase some excess butter from the crust leaks out}
I also like to line my tin with baking paper, it just makes it a little bit easier when removing the cake, to prevent any of the crumbs falling off.
You will need to press it a few centimeters up the sides of the tin if you want the base to go round the sides of the cake – up to you.
Using the bottom of a glass to press the crumb mixture into the tin makes it just a bit easier and gives you a neater finish.

Next, prepare your brownie mixture by heating the butter and chocolate in a heatproof bowl in the microwave {gasp! shock, horror – yes!} until it’s just melted. Quickly stir until smooth and then whisk in half the sugar.
Next, whisk in the eggs one by one.
Whisk in the vanilla and cocoa powder, and finally, stir in the flour until just incorporated.

Pour the brownie mixture onto the biscuit base and bake in a pre-heated oven of 175C for 20 minutes.

While it cools down, prepare your cheesecake filling:
Soften the cream cheese, by beating it in a stand mixer until it is creamy, smooth and almost fluffy.
Add the sugar, flour, vanilla and milk and beat until everything is mixed thoroughly and it has a smooth and glossy consistency.
Add the eggs and mix gently until it’s just incorporated – you don’t want to over beat the eggs…

Set your oven to 190C.

Pour the cheesecake mixture on top of the brownie and biscuit base and bake for about 45 minutes.

Once the cheesecake has finished baking, let it cool as is for about 15 minutes and only then loosen the springform sides.
Let it cool even further with the loosened sides and only attempt to fully remove the cake from the tin once it’s reached room temp.

Next, make the ganache by heating the cream until boiling point and then pouring it over the chocolate buttons. Leave for about 5 minutes and then stir until it’s smooth.
Pour over the cheesecake and refrigerate.

Voilà!

20140723-122223.jpg

{Watch out for my hearty lamb shank recipe tomorrow!}

Birthday Cakes Galore and a Scrummy Salad

Hello and happy Monday!

I don’t know about you guys, but whenever I am very busy, I tend to eat badly… I don’t bother with salads or much veggies, I eat too much meat and don’t drink enough water. Oh yes, and I eat waaaay too much sweet things… {Blush}

Here’s a recap of some of the cakes I did last week and a scrummy salad to start the week off on a good note:

Go-Kart themed cake {chocolate cake}
Spider-Man themed cake {red velvet cake}
Lawnmower themed cake {chocolate top layer, red velvet bottom layer}
Rugby themed cake with sports balls cupcakes {polka dot vanilla sponge cake, chocolate cupcakes}

20140721-113720.jpg
And here is a scrummy, quick and easy salad to start the week off on a good note:

20140721-114812.jpg
{I just realised that I’ve taken the photo before adding the greens… Oh well…}
So, you will need:
Ripe papaya, diced
Herby greens or baby salad leaves
Ginger syrup {I used the syrup from a jar of preserved ginger, straight from the fridge, so it was set and I dolloped a few bits into the salad}
Vanilla pumpkin seeds from Woolies
Feta cheese with black pepper
Olive oil
Red wine vinegar

Toss the leaves together and drizzle with olive oil and red wine vinegar.
Add the papaya and feta cheese, then sprinkle with the pumpkin seeds and finally, add dollops of ginger syrup.

Totally delicious and perfect for a light lunch or enjoy with a tasty piece of fish for dinner. {And vino of course ;)}

X

Beautiful Brussels sprouts with Bacon

Brussels sprouts are probably not anyone’s fave veggie {honestly, I don’t think it’s that bad, but probably not up there with say, sweet potatoes…}.

So let’s give this poor old veggie a makeover with this fab {and simple} recipe from The Real Meal Revolution.

You will need:

A packet of Brussels sprouts {about 200g}
125g bacon
Dollop of butter
Sour cream
Salt & pepper

Slice the bacon into fine strip and fry in the butter until crisp.
Steam the sprouts until they’re tender. Add the sprouts to the bacon pan and heat through.
Serve warm with dollops of sour cream, seasoned with freshly ground salt & pepper.

20140715-124010.jpg
This beautiful bowl was handmade by my friend Karin du Plessis {Katryn Keramiek}
Enjoy the sprouts! X

#dessert anyone?

I have such a sweet tooth and that’s just a fact. No use lying about it…

So, here’s my recipe for a super easy, super quick and super satisfying chocolate and peanut butter pot {for 4 servings}.
Chocolate and peanut butter – so very American and so very delicious!

You will need:

4 dark chocolate cupcakes with dark chocolate icing, halved
4tsp condensed milk
4tbs cream cheese
4tbs cream
4tsp peanut butter {use the one without added sugar, as the dessert is quite sweet already}
About 40 dark chocolate buttons

Place the top half of the cupcake {the one with the icing} in the bottom of an oven-safe glass or ramekin.
Layer a teaspoon each of peanut butter and condensed milk on top of the icing {the icing should face up, obviously}.
Next, layer a tablespoon of cream cheese and cream and sprinkle with about 10 dark chocolate ‘buttons’.
Place the remaining {bottom} half of the cupcake on top and bake at 160C for 20 minutes.
Serve warm and do let each person stir up their pud to get everything nice and mingled!

Enjoy! X

20140709-131620.jpg

Hearty Chicken & Butternut Quiche #lunchtime

Hello!

What’s for lunch on this sunny winter’s Monday?

I think a hearty quiche is just the thing! It’s quick and easy and you can make it ahead of time too.

Perfect for The Lunchbox or a Sunny Picnic – you decide.

All right, so here’s what you’ll need:
Deboned {roasted} chicken meat {I used the brown meat from a whole chicken: thighs, some of the wings and the drumsticks.}
6 whole eggs
Handful of Gouda cheese, coarsely grated
6 tsp sour cream
3 sprigs of thyme
1 small butternut, diced and cooked
A splash of milk
2 large leeks, cut lengthways into quarters and caramelised in butter

Start by prepping all your already-cooked ingredients:
Remove the cooked chicken from the bones and roughly tear into strips
Cook the butternut and let it cool
Caramelise the leeks by slowly sautéing in butter until it becomes golden and soft

Next, whisk the eggs and add a splash of milk. Add the grated cheese and season with salt & pepper.
Butter a small oven dish and pre-heat your oven to 180C.

Layer the chicken and butternut in the bottom of the dish and press the thyme sprigs inbetween.
Pour the egg and cheese mixture over the chicken and butternut and add dollops of sour cream randomly onto the dish.
Finally, arrange the leeks all over and then bake for about 35 minutes until the eggs are set and the quiche is beautifully golden on top.

20140707-125059.jpg
You can totally make this quiche with a traditional pastry shell, but I prefer it without, plus now it’s carb-free!

Enjoy! X

#Banting Coconut Chicken Bites

You know, the thing I enjoy about Banting, is that it really let’s you be creative. You can use all the delicious things you want: bacon, butter, cream, etc. and nothing needs to be steamed or tasteless – bleh. {Just make sure you use the right fats!}

Anyways, so these chicken bites are my adaptation from The Real Meal Revolution’s coconut fish bites.

They’re just the thing for a light lunch or a snack, or as an appetizer.
Also a goodie for lunch boxes!

You will need:

Boneless chicken breasts, cut into strips
Desiccated coconut
2 eggs, beaten
Coconut oil for frying
Curried mayo
Freshly ground Himalayan pink salt

You will need to use about 2 tbs coconut oil to shallow fry the chicken.
Season the chicken strips with salt and let it sit for a few minutes while you prep the mayo.
Heat the oil, then dip the chicken strips in the egg and then the coconut. Fry over medium heat until both sides are a nice golden brown.

20140703-102100.jpg
Serve with the curried mayo and a small herb salad. You could also make a fab fresh salsa:
Diced papaya
Diced green pepper
Diced tomato
Diced red onion
Olive oil
Red wine vinegar
Salt
Small diced red chili {optional}

Enjoy! X

Random Ramblings…

Hello!

Today I’ve a lot of things on my mind, none of which really have anything to do with each other. Just some random ramblings…

I met up with a friend for some tea today, our ‘annual’ get-together, as she lives far, far away, in Windhoek.
A charming place, one I’ve driven past many times and heard of, but never been to, Contessa’s.
So anyways, we always chat about everything and anything, but what I love is that we can bounce ideas off each other, she’s great with marketing things and a LOT more organised than I am. Mentally and physically. So it helps me to sort of just organise things a bit in my own mind…

I’ve been thinking a lot about this blog, my Facebook page and Twitter, and how these should all tie together and whether they or not and if it all makes sense, you know?!
So I’ve decided now that yes, it does make sense, that this blog is about me and Pink Poppadom and anything really that I want it to be and that the Facebook page is more of a marketing tool for Pink Poppadom Cakes & Bakes. Something like that…

And Twitter, well, Twitter is Twitter I guess! I understand it, but sometimes all the hash-tagging gets a bit confusing, so I either end up not tagging anything, or I do everything.

Then, as I was driving home today, I just realised how much I love my automatic car! Gear / stick-shift cars are the pits…
I had to use hubby’s car today and his isn’t automatic, plus it’s a Land Rover Defender {basically a lorrie!} and it is just SO annoying to have to change gears every time you approach a red robot and have to slow down, or go through a stop street or drive up a hill, etc, etc… Grrrr so that was my bit of annoyance today.

I’ve also decided to do a detox… A juice-cleanse to be more specific. More on that later – let me first get my mind around it! I think I will start with a 2-day cleanse.
I’ve just been feeling a bit horrible the past few weeks, I get nauseous very easily {no, not pregnant!}, I’m not sleeping well and I have bags {!!!!} under my eyes! Yes, so I think a cleanse is in order…

What else..? Hmmm…

Oh yes, I thought I would just share my best winter buy: the best slippers ever! Sheepskin slippers that come up to your ankles, lined with wool.
As you can imagine, they’re not very pretty, but oh.my.gosh. they are super warm, super comfy and I can wear them outside too, they’re super durable!

20140701-211032.jpg
I bought Eben a pair last year, and I’ve been wearing them whenever it gets cold. I’ve put off buying my own, because they’re quite ugly and pricey too, but then I just had to have them, so…
A definitive must-have for winter.

All right, well that’s all my rambling done for today!

Oh wait – movie to see: The Lego Movie

It is SO funny! More of an adult movie, but totally child-friendly too, it’s just more adult type humour.
Also, I’ve found my country of origin, or actually what my mind is like inside: Cloud Cuckoo Land from the Lego Movie. Hilarious, watch it!

Ok, ta-ta for now! X

Roasted Tomato Soup on a #MeatFreeMonday

We all need a meat free day every once in a while – Monday, Tuesday, whenever…
I honestly feel the need for more veggies during the winter, as we tend to eat a lot more meat!

Right, so here’s my recipe for a tasty and wholesome roasted tomato and pepper soup:

You will need:
1kg ripe tomatoes, whole
2 yellow Italian peppers
1 liter chicken stock
2 leeks, chopped
Olive oil
2 celery stalks, chopped
1 tsp sugar
3 or 4 garlic cloves, whole

Start by drizzling the tomatoes with olive oil and a sprinkle of salt. Place the whole garlic cloves inbetween the tomatoes in a roasting dish and roast in the oven until they are starting to blister. While the tomatoes are roasting, also roast the peppers.
Just place them under the grill and let them get charred all around. Once they’re done, immediately put it in a glass bowl and cover with clingwrap to cool.
{In the meantime, sauté the leeks and celery in some butter. Add the chicken stock.}
When the tomatoes are done, remove the skins and add them to the sautéed leeks.
Peel the skins off the peppers, roughly chop them and add it to the rest of the soup.
Blend everything with a stick blender or in batches in a jug blender until smooth.
Add a pinch of sugar, just to take the edge off the acidity. Add a dash of cream and serve.
Enjoy! X

20140630-205710.jpg