A scoop of yumminess

I’ve been wanting to try and make my own ice cream, but I don’t have an ice cream maker and just assumed that it would be too complicated to try and tackle without one…

But then I thought – just do it! And so I did…

I had heaps of very ripe bananas after a visit to a local farm shop last weekend and so I decided to make banana ice cream. I found a very nice local KZN recipe in my East Coast Tables cookbook.

I must say, it turned out great and it was really very easy to make. Not too sweet and not at all lumpy or icy – just perfect. I am definitely going to make heaps more ice cream!

You will need:

4 medium, ripe bananas

3/4 cup milk (I always use full cream)

1/2 a cup of castor sugar

1/2 a tsp cinnamon (I might have used just a tad more…)

2 cups cream

1 tsp vanilla extract

Blitz the banana with a hand blender and set aside. Whisk together everything else, except the cream and stir in the bananas. Refrigerate for an hour.

Whip the cream until quite stiff and fold into the banana mixture. Pour into a wide, flat plastic container with a lid and freeze for 40 minutes. After 40 minutes, whisk with an electric mixer and return to freezer. Do this 3 times.

I left mine in the freezer overnight after the whole freeze, whisk, freeze procedure to freeze completely. I took it out about 20 minutes before serving, just so that it it would be nice and soft (but still frozen!) to dish up.

Seriously yummy and very creamy!

Enjoy! X

Banana Ice Cream

Mediterranean Chicken

I’m suffering from blog-withdrawal! It’s been 5 days since I’ve posted anything, but I’m back now! {We’re going through a rough patch of sleep-training with the boys…}

Anyhoo, so I wanted to dedicate this entire {or most of it in any case} week to terrines and even though they are not at all tricky to make,they do require some planning ahead. You cannot just decide at lunchtime, oh let’s have terrine for dinner… Perhaps I will make one later today for tomorrow.

Right – so, to get back to my Mediterranean chicken – here it is, roast chicken with Roma tomatoes, garlic, capers and fresh basil.

I just love the simple flavours of the Mediterranean, where you actually taste the goodness of each ingredient. We spent a month sailing in Turkey when I was younger and I have some of my best food memories from there! We would have the simplest lunch of just roasted peppers in olive oil, tomatoes, lettuce, feta cheese and freshly baked bread. Perhaps some olives too. Dinner at little seaside cafés would be a choice of fish, chicken or lamb {most probably goat!} served with salty roasted potatoes and a lettuce salad. It would be so tasty because everything is fresh and naturally organic. Oh and of course they have fresh bread and olive oil with just about everything!

You will need the following for my Med chicken:

1 whole chicken, butterflied

3 or 4 cloves of garlic, kept whole and in their skin

a handful of fresh basil, roughly chopped

1 punnet {probably around 400g} of small Roma tomatoes {cherry tomatoes will also do but make sure you use red and juicy tomatoes}

freshly ground sea salt

olive oil

capers

To butterfly your chicken, use a sharp large chef’s knife to cut out the back bone. You will need to press down on the chicken to break the necessary bones and allow it to be flat. Remove the entire backbone and open up the chicken with the cavity facing down into the baking dish.

Rub the chicken with olive oil and give a generous sprinkle of ground sea salt. Scatter the tomatoes & capers all around the chicken and add the whole garlic cloves.

Bake for an hour at 180C until cooked, golden & crispy. Sprinkle with chopped basil just before serving.


Mediterranean Chicken

Enjoy! X

Ouma’s vetkoek

My gran (or Ouma in Afrikaans) used to make these yummy little vetkoeks (a traditional type of dough dumpling, like a savoury doughnut) when we were younger and visiting her and Oupa (grandpa). She would just whip up a whole batch and us kids would gobble them up before they even made it to the table! She always made them with tinned sweet corn and some with viennas (like hotdog sausages).

We’ve had the most glorious rain today – it lasted for pretty much the entire day – and it just reminded me of my childhood days in the Cape with Ouma & Oupa.

I decided to whip up a batch of these yummy little vetkoeks {why am I always so hungry when the weather is all grey and dreary?!} and they went down a treat! Hubby just loved it and so did little Seb.

For the vetkoek:

1 cup of flour

1 tsp baking powder

1 egg, lightly beaten

a pinch of salt

1/2 a cup of milk

sunflower oil for frying

Sift together the dry ingredients and mix in the egg. Add the milk to form a wet batter.

I used Russian sausage cut into small pieces and half the batter for the sausage vetkoeks. Use a spoon to coat sausage pieces in the batter and drop into a pan of hot oil. Cook until they are golden and slightly puffed.

Use the other half of the batter and mix in half a tin of corn. Drop spoonfuls into the pan with hot oil and cook.

Serve with a chili dipping sauce. {No, I did not make my own dipping sauce, I just used a medium hot one from the store..!}

Enjoy! X

Ouma's vetkoek

My latest obsession: Terrines

I’ve been wanting to try to make a terrine for a while now {what could be more paleo?!} and it just seemed so daunting… So I did a bit of reading and research and I realised that it’s actually quite simple, depending on what you want to put in it, etc etc.

{You’ll be seeing a lot of terrine recipes in the coming week or so, as I try out different recipes and flavours and get the gelatine ratio just right.}

I took the plunge on Friday morning and made a warthog terrine {a bit of déjà vu?!} with the last of my frozen warthog roast leftover from a few weeks ago.

You can really go wild and put anything in your terrine, layering different meats or veggies and creating fun patterns to wow everyone as you cut into it.

This terrine, however, I kept quite simple to see whether it would work in the first place and how the gelatine would set.

For the terrine:

800g or so of roast warthog, diced {any type of roast pork will do – but do see my previous post about the warthog roast}

2 carrots, diced

1 onion, diced

1 1/2 cups of chicken stock

1/2 a cup of Sauvignon blanc

1/2 a cup of fruity white wine

salt to season

2 tbs chopped parsley

2 tbs chopped Italian parsley

3 sprigs of thyme leaves

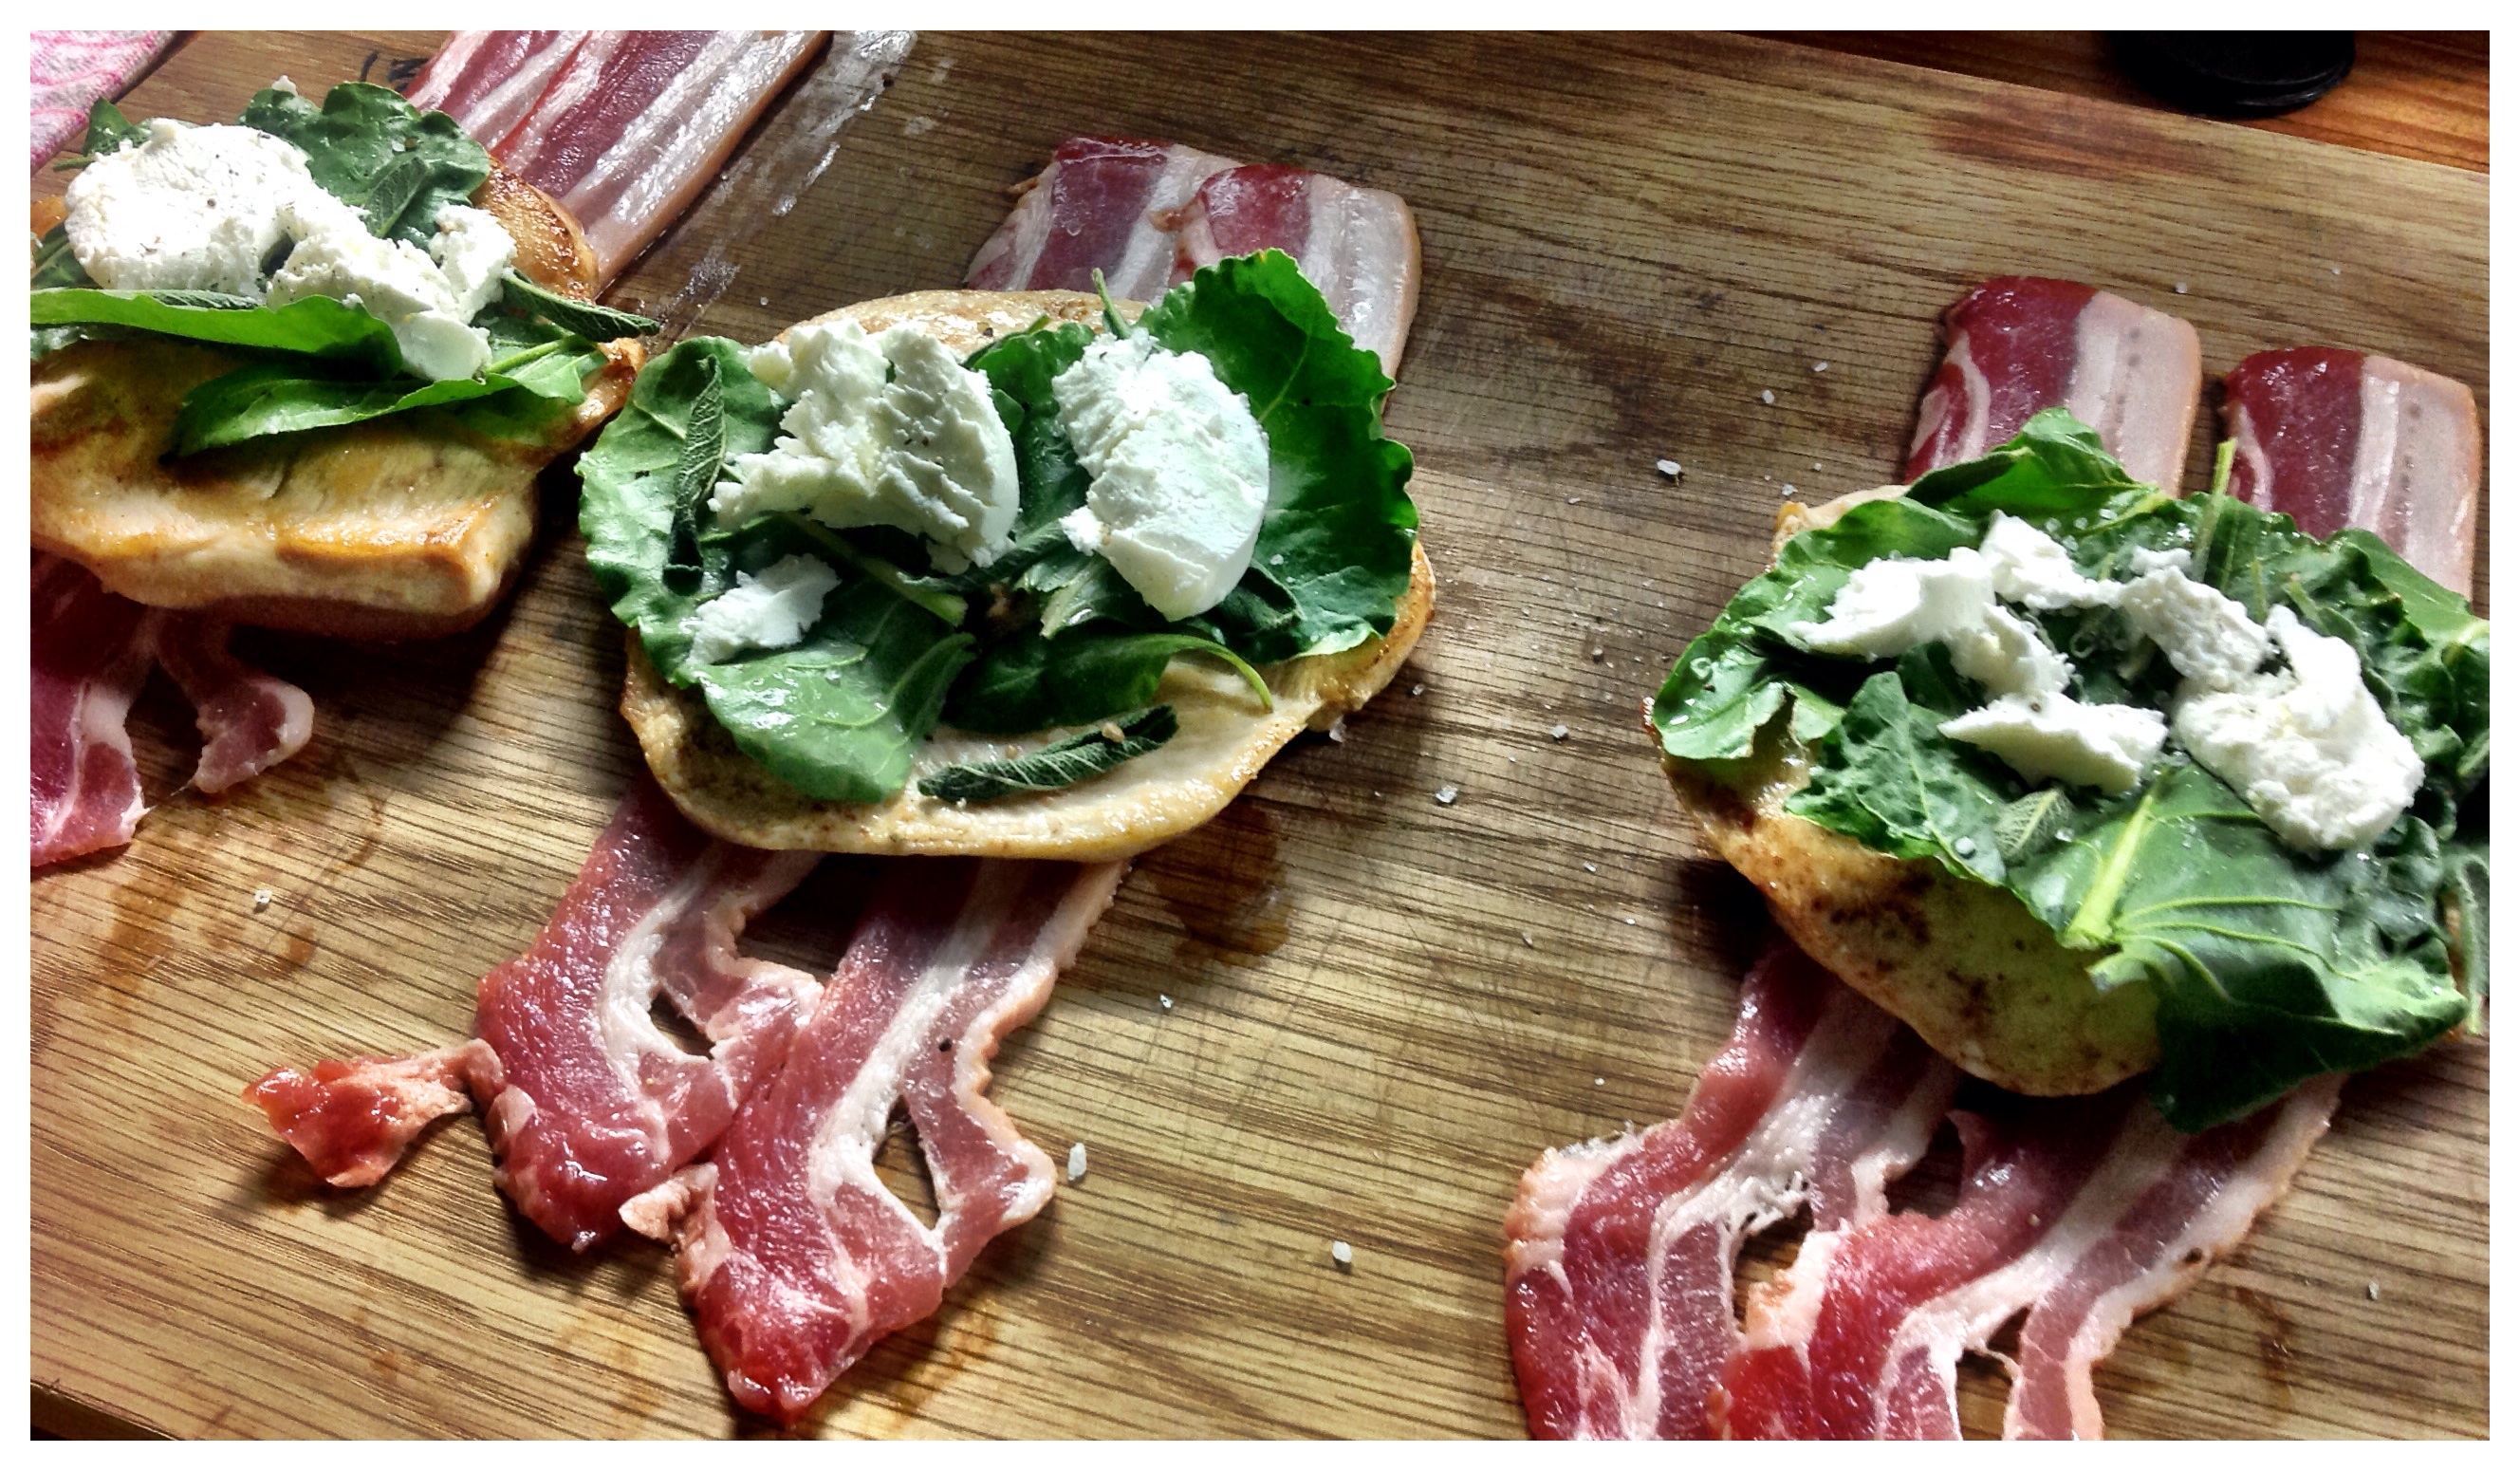
250g streaky bacon, diced

3 tsp gelatine powder, dissolved in a tbs of cold water

Saute onion in olive oil & butter and add carrots. Cook until soft.  Add herbs. Add bacon and cook until the bacon has started to go a golden brown. Add a splash of wine to deglaze the pot. Now add the warthog meat, stock and the rest of the wine and simmer for about half an hour until all the flavours have mingled properly. Season with salt if needed.

Strain the mixture and keep all the juices.  Add your gelatine to the warm juices and stir until the gelatine has fully dissolved. Keep the meat mixture aside and allow it to cool before placing it into a terrine pan. {Or a loaf tin – surely it’s more or less the same?}

1 packet of pitted prunes

1/2 a cup of Cape Ruby (port)

1/2 a cup of fruity white wine (I used Robertsons Beukett)

1/2 a cup of brown sugar

1/2 a cup of water

Bring all of the above to a the boil in a small saucepan and let it simmer until it’s reduced by half.  Remove the prunes from the sauce and add the sauce to the gelatine & meat  sauce {above}.

Let this also cool.

Line two standard loaf pans with clingwrap. Place the prunes into the bottom of the pans, followed by the meat mixture. Don’t pat the mixture in, there should be enough space for the sauce & gelatine to go inbetween and allow everything to set. Pour the gelatine sauce into the pans, over the meat and prunes and wrap the overhanging pieces of clingwrap in to cover everything. Place something on top to weigh it down and place in the fridge to cool and set.

I had mine in the fridge for 9 hours and it came out pretty much set. It did firm up a bit more after another day in the fridge.

Warthog & prune terrine image

I’m so glad I decided to make this on Friday morning, as I got a bit sidetracked in the afternoon and ended up having some lovely wine with my lovely neighbours! I took my sons for a walk {one in the pram and the other on his scooter} and it ended up in a whole neighbourly walk with the neighbour’s kids joining us and then the parents too, as we tried to ‘reign in’ all the kids, which then ended in a spontaneous visit at another neighbour’s house for sundowners. And what a treat it was to then find my yummy terrine in the fridge!

Open up the clingwrap at the top and turn onto a serving plate. Remove all the clingwrap and cut thick slices with a sharp knife.

I simply plated it onto some fresh and crisp romaine lettuce leaves with a drizzle of olive oil and a sprinkle of salt. Delicious! X

Lemon curd cupcake

Our precious little hen has been laying her butt off to supply us with her golden-delicious eggs! {she would lay one every second day}

I had to save up a few days’ worth to be able to make something and before I knew it, I had half a dozen. What to do..?

I made lemon curd and cupcakes with a lemon curd icing.

For the cupcakes:

115g butter

115g castor sugar

115g self-raising flour

2 eggs {freshly laid is best!}

1 tbs milk

Beat together the sugar & butter until nice and fluffy.  Lightly beat the eggs and slowly add to the sugar & butter mixture until well incorporated.  Sift the flour and fold into the butter mixture. Gently fold in the milk until you have a smooth & silky consistency.

Spoon into cupcake papers in a cupcake tin and bake at 180C for 15 minutes until cooked and a toothpick comes out clean. {makes 12 cupcakes}

For the lemon curd:

3 small free range eggs {freshly laid of course!}

100g sugar

2 tbs butter

2 tbs freshly squeezed lemon juice. Whisk together the eggs, sugar & lemon juice in a heatproof bowl and cook over a pot of boiling water {double boiler} while constantly stirring. When the mixture has thickened quite a bit, remove from heat and whisk in the butter. Place in a jar and refrigerate. {makes about 200ml}

For the lemon curd icing:

Mix icing sugar with lemon curd, add a little butter and a splash of milk – mix well to create a smooth icing. {sorry, but I just don’t always keep track of quantities – just go with the flow until you have the desired result!}

Pipe icing onto cooled cupcakes and top with more lemon curd.

Enjoy! X

Lemon curd cupcake image

Perfect lunch – in a jar!

I saw a really clever idea for packed lunches recently in my fave food magazine {Sarie kos} and decided to try it out.

You can really use anything that goes together and it’s a great way of packing leftovers for hubby’s lunch.

I used last night’s leftovers of boerewors, sweet potatoes and strawberry salad.

Boerewors & sweet potato lunch-in-a-jar:

In the bottom of a glass jar {with lid}, squeeze a dollop of Dijonnaise {mayonnaise mixed with Dijon or wholegrain mustard} and top with slices of boerewors. Place slices of sweet potato on top of that and add salad on top of everything. You can enjoy this at room temperature! X

Lunch-in-a-jar

Midweek Braai

It’s been a while since we just plain braaid {is that even a word?!}, so last night we had boerewors and grilled sweet potatoes on the braai, along with a strawberry summer salad.

We’re a bit deprived in the sleep department and decided that a round of sleep training is {very} due for our oldest, Seb… of course, when you sleep train, you have to be devoted to it, blah-de-blah-blah… and then sometimes you have to compromise a bit on dinner. But – if you keep it nice and simple and fire up the braai a bit later when said kiddos are in bed, you can have your cake {dinner} and eat it too!

That’s exactly what we did last night – hubby put Seb to bed while I prepared everything for our braai and got things going. All I had to do was season the sweet potatoes and wrap in tinfoil and make the salad.

For the sweet potatoes:

Use however many you want – I made 4

Wash the sweet potatoes and leave the skin on

Cut a slit on either side of the sweet potato and spread on a dollop of butter

Season with peppadew spice {or any favourite spice or rub}

Wrap in tinfoil with the shiny side on the inside

The sweet potatoes should go onto the grill first, as they take about 45-60minutes to cook. You want them to be nice and soft and allow the butter and seasoning to ‘absorb’ properly. When those are ready, you can put on the boerewors and grill for about 15 minutes on each side – or until cooked {but still juicy!}.

For the salad:

Baby spinach leaves

Rocket leaves

Ripe strawberries

Goats cheese

Balsamic vinegar

Cut strawberries into slices and toss with the leaves. Add chunks of goats cheese and dress with balsamic vinegar.

So simple, yet delicious and perfect for a stressful day. Enjoy! X

Midweek Braai image

Bacon-wrapped, goats cheese-stuffed chicken

My husband always says that chicken is a vegetable – he worked in the Northen Cape on a project for a while and there they really didn’t eat salads or veggies – their veg was chicken..! I know, right?!

I used to cook chicken so often – and especially chicken breasts, that he would get teased by a friend at work about getting chicken for lunch almost everyday. I haven’t actually made chicken breasts in a while – it can be quite boring sometimes, and I hate dry chicken. I’m not one for saucy dishes either, I would rather have a sauce on the side that I can add to the dish as I please. Anyways, so this dish is great because the chicken is moist and the bacon also adds extra flavour.

So that would make tonight’s dinner almost vegetarian, apart from the bacon…

6 chicken breasts, sliced open halfway

olive oil

butter

baby spinach leaves (3 per chicken breast)

sage leaves (5 per chicken breast)

salt & pepper, freshly ground

goats cheese (2 slices per chicken breast)

streaky bacon (2 strips per chicken breast)

Start off by heating a glug of olive oil and about a tbs of butter in a pan. Season one side of the chicken breasts (open them up so they lie flat) and flash-fry on the inside. The chicken will cook much quicker when the inside is already partly cooked, plus you get extra flavour from the browning of the chicken on the inside. If you don’t flash-fry the inside, you will be left with a very dry breast, trying to get the whole thing cooked through.

Just brown the one side slightly – don’t cook all the way through.  Remove from heat.

Place spinach leaves, sage & goats cheese on the cooked inside and season with salt. Wrap in bacon and secure with a toothpick.

Fry until golden & cooked through.

Serve with asparagus – blanched, with a drizzle of lemon juice, salt & a dollop of butter.

Enjoy! X

Bacon wrapped stuffed chicken image image

Scrummy Cake Pops

Cake pops – ok, nothing new there, but perhaps forgotten a little bit?

Now, you get cake pops, and then you get… Cake Pops! I’m not talking about small bite-sized ‘cakes’ – the ones you bake in special cake pop pans – although those are also yummy, I’m talking about ooey-gooey-yummy-scrummy cake pops!

These pops are made from proper cakes – call it cake-upcycling if you want. You can either take an entirely new cake – icing and all, or use leftover cake.

I used a whole vanilla sponge cake (about 1kg) with a bit of fondant icing and added some more plain butter icing (about half a cup mixed icing) and apricot jam (3 tbs – this makes it more ooey-gooey and helps to bind them together nicely).

Use a fork to crumble up the cake and mix in the jam and icing. Roll into small bite-sized balls and then roll into castor sugar – refrigerate until you need them, so they will set nicely. When you’re ready to serve, place onto sticks and vóila!

{You can do any flavour and dusting – another good one is to dip them into lime flavoured icing and roll into shredded coconut.}

Enjoy! x

Vanilla cake pops